Creating a Glossary
MadCap Flare uses many unique terms to refer to its various types of files, such as "target" and "snippet." Creating a glossary is helpful to users who forget a specific term means. You can design an online output so a user can click a glossary term where it shows up in a topic and see the definition without having to scroll to the glossary page.
- Right-click the Glossaries folder in the Project Organizer. A context menu appears.
- Click Add Glossary. The Add File window appears.
- Make sure that Glossary is selected in the “File Type” field.
- Select the radio button next to "New from template" in the "Source" section.
- Type a name for the glossary in the “File Name” field.
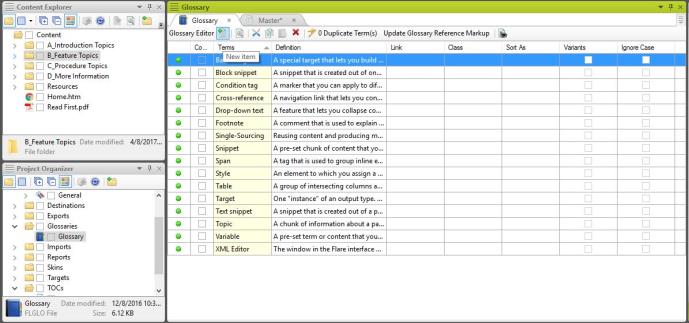
- Click Add. The glossary is added to the Glossaries folder in the Project Organizer and the Glossary Editor appears.
- Delete any empty entries that appear in the new glossary.
- Note: An empty definition may contain the text "My term" in the term column and "My definition" in the definition column. Right-click on the entry and select Delete to delete the entry.
- Click theNew item icon, which looks like a paper with a green plus sign, to add new terms.
- Type the term in the field under "Terms (enter one term per line)."
- Select the radio button next to "Text" under "Definition."
- Type a definition for the term in the field next to "Text."
- Click OK.
- Repeat steps 10-13 for each term you want to add.
-
Note: Check the box in the "Ignore case in automatic link creation" column for each term if you want the glossary definition to appear regardless of whether the word is capitalized or not.